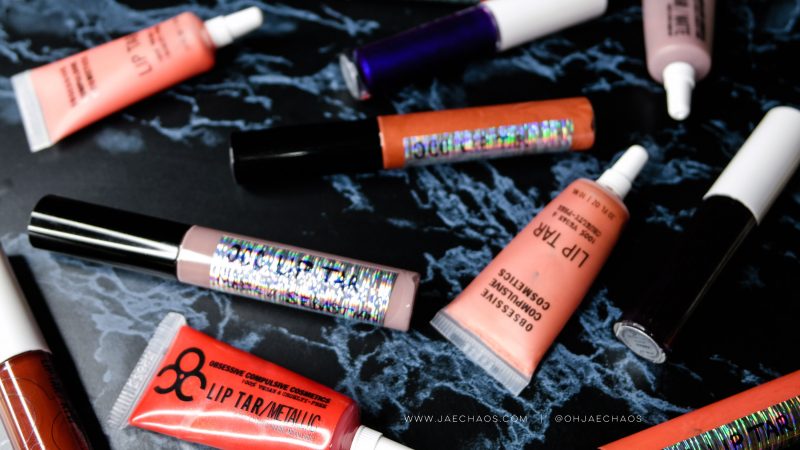
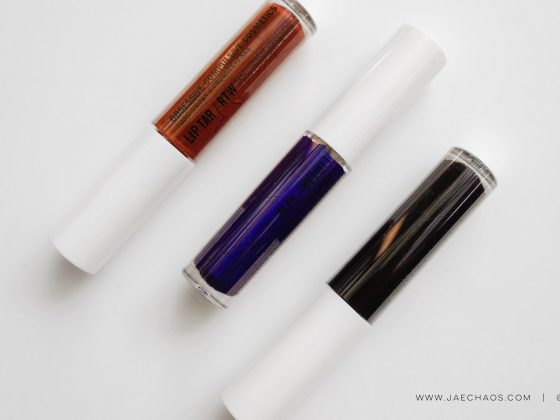
On Tuesday, I posted my thoughts on the new OCC RTW Lip Tars. Overall, I think they’re super handy… but I have several of my favorite colors already and I’m kind-of-a penny pincher on certain things A.K.A. I don’t really like to have a TON of duplicates. I love how portable the new RTW packaging is so I decided to DIY some. Interested? Let me stop rambling and let’s get down to bizzzzz-nassss…

Supplies:
- 11mL Empty Lip Gloss Tube with a wand applicator – you can get them here. The set that I bought came with a funnel, 6 empty lip gloss tubes and a bonus round little lip balm tub thingy. Not a bad deal.
- OCC Lip Tars of your choice… you can hurry up and get 50% off on OCC’s website since they decided to move to the RTW packaging for everything.
- Paper tape, round stickers, or labels. I used Holographic tape, because it’s snazzy.
- Marker of your choice, optional but advisable.

I wanted to kick off my DIY adventure by using one of my OCC loves, Sebastian, which is a matte greige-ish nude. It’s such an interesting color and now it seems like everyone and their duck has a similar shade now. Way to go, OCC, always being bold with your color choices.

This DIY is ridiculously simple:
- Squeeze ALL (or at least as much as can) of the product that is in your OCC tubes into the empty container. I’ve found that certain lip tars, specifically the more metallic ones, are a bit thicker in consistency so it may take you longer to squeeze the product into the container.
- Screw the lid/applicator on to your tube. DO NOT TRY TO SCREW THE CAP ONTO AN EMPTY CONTAINER. There is a seal that is nestled on the top of the cap that actually ends up sticking to the container that helps catch the excess product on the applicator and helps the contents stay in place if the tube tips over – when you twist the cap on for the first time. Tip: The lip tars have 10mL of product in a brand new container. An 11mL container is about perfect for turning your old lip tars into RTW ones because it leaves enough room to fit the applicator and everything in the tube and won’t spill over when you close it.
- Unscrew the cap to check that the seal was properly placed. If you need to gently tap on the top with a rubber mallet to give it a better seal. You may find that when you replace the cap/applicator, there is a little bit of resistance, that’s normal. When you open your tube and pull out the wand you introduce air into the tube. When you go to close up your lip tar, the air needs to leave the tube so that your wand can fit back in there. The fix is to put your wand in at a slight angle. The air can escape easily and you won’t have near as much resistance as you would if you were quickly closing up the tube straight-on.
- Label your lip tar container with paper tape and a marker… or if you want to follow the OCC method, take a small round sticker and write what it is then stick it on the bottom. Garage sale stickers are too big but there are smaller scrapbooking stickers that will work.
- ENJOY YOUR DIY RTW OCC LIP TARS!

The shape of the doe-foot applicators are both pretty similar. The only difference is, is that the OCC RTW one is a little bit wider. Each dispense a nice amount of product and it’s easy to grab, apply, and go.

I am really sooooo happy with how easy these turned out… and how easy it was to do. I am probably going to keep my primary hues in their tubes that way it will make things easier for me to mix up custom colors in the long run. Yay! I’m thinking about doing a little color mixing with some of my smaller test tube lip tars in the future. Gotta get my color theory on… 🙂
Now here’s the questions: are you going to jump on the DIY train and make some of your very own DIY RTW Lip Tars? Let me know in the comments below.





1 comment