One of the most requested tutorials is here, dah’lings! Now you, too, can create realistic faux/fake freckles and fool everyone. /Cue the fanfare!
Before I go into the details, and a few more tips and tricks that I forgot to talk about in the tutorial, I wanted to express my love for faux (or fake) freckles. As some of you might notice during my live streams – I have a lot of scars and a few acne spots on my face. I’m okay with them. They’re not my favorite, but they are mine. For the longest time, I would just cake on the most coverage foundation I had in hopes to cover them… but I’ve started to ease up with the cake face and opt for an easier (and more awesome) way — by adding some faux freckles. Smattering the freckles on my face does help to disguise any texture, spots, or hyperpigmentation… and it looks cute.
Growing up, I would always get the summer freckles on my cheeks and shoulders. I freckle if I’m out in the sunlight but since I’ve had to restrict my time out in the Big Day Ball, due to spoonie complications – I cheat. Freckles are beautiful, plain and simple. I hope that if you are reading this and you have freckles, please cherish them. They’re awesome.
And now… let’s get into it. IT’S FRECKLE TIME!
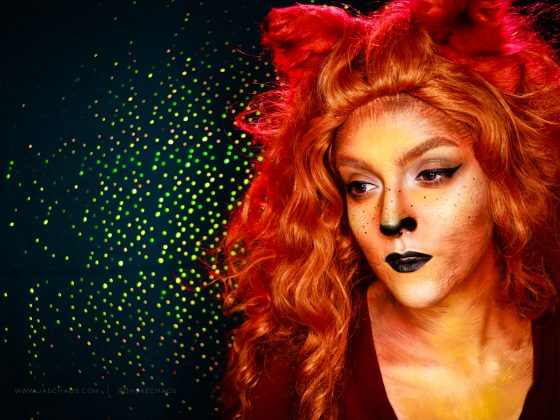
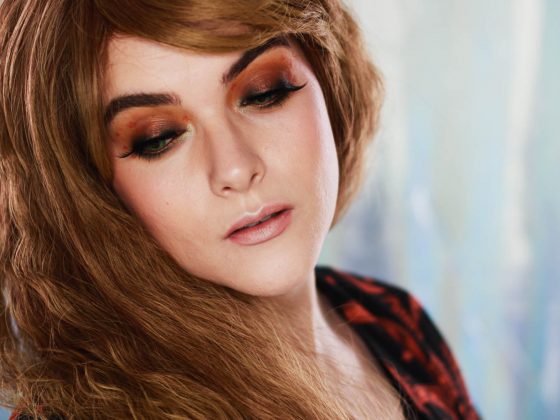
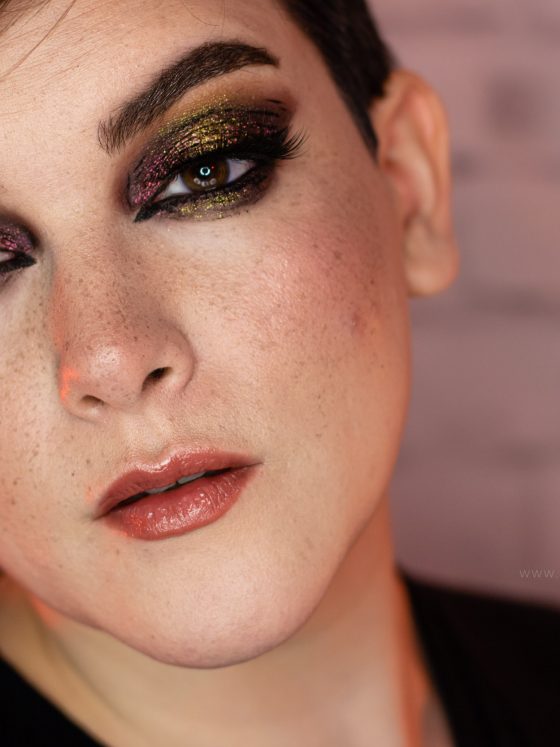
There are a few different ways you can achieve the “fake freckled” look; either with eyeshadows, cream products like brow pomades, water activated makeup, eye kohl pencils, or my favorite (and most realistic faux-freckle creating medium) alcohol activated makeup. Get ready for a trip down memory lane because I’m pulling up photos from my Instagram feed of different examples.
Eyeshadow Freckles:
Brow Pomade Freckles:
Liquid Brow Pen Pencils:
Eye Khol Pencils::
Water-Activated Makeup:
Alcohol Activated Makeup:
As you can see, each medium can achieve convincing results. For everything except alcohol-activate makeup, you will need to make sure that you don’t have the same opacity and tone throughout your freckles because that’s a dead giveaway that they are fake. For brow pomades, I tend to use two or three different colors, and for the darkest ones, I will ALWAYS match it to my natural freckle tone that I have on my shoulders. For me, I use a taupe color, an ashy brown, and a rich dark brown.
PRO TIP #1 – If you already have freckles on your body, look for products with similar colors and undertones to those freckles. They will look the most natural on your skin and give a more convincing result.
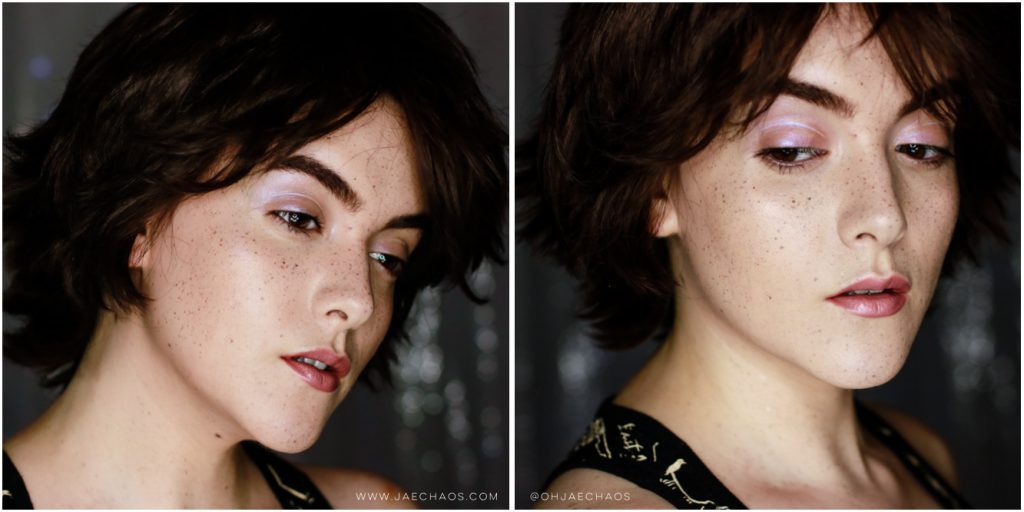
The reason why I like to use alcohol activate makeup for my medium of choice is for two reasons: the act of splattering them on my face produces organic shapes that vary in size, and alcohol activated makeup gives varying opacities to each freckle depending on how much alcohol you use in activating the makeup. The less alcohol you use, the more pigmented each freckle will be. The more you use, the more varying your freckles will be… if that makes sense. Also, alcohol evaporates quickly, so you won’t have a long wait time until your freckles are set.
For my faux freckles, I use alcohol activated makeup pans in either a dark, neutral brown or a warm taupe brown – with the occasional auburn freckles if I’m feeling myself that day, 99% isopropyl alcohol (a MUST!), and a cheap toothbrush. For favorite brands, I use Skin Illustrator or European Body Art. I’ve gone ahead and linked some of my favorite things below. Keep in mind that I am using Amazon Affiliate Links for this, so I do get a minuscule commission, but if you choose to use it – I would greatly appreciate it. [[ahhh… adult bills suck]]]
- Skin Illustrator ZOMBIE Palette – Full palette, great for SFX and for creating faux bleached brows, freckles, etc. It is a forever favorite of mine and is worth the price. Don’t let the reviews fool you, alcohol activated makeup is very concentrated and is dry, so it will look like there isn’t a lot of product in the pans, but I have had mine for two years now, and I am just now hitting pan on the dark brown color.
- European Body Art Encore HAIR & BEARD Alcohol Activated Makeup Pan – SINGLE PAN in Cocoa (medium neutral brown) These are single pans and are great for getting just a few colors. I also use these pans to color my brows.
- Skin Illustrator Rob Benevides Custom Collection Fleshtone Palette – If you are a makeup artist and you are working on a lot of differing skin tones – this is a must as well. It’s also really great for using it to color correct brow colors to match wigs, etc. Skin Illustrator makes my favorite alcohol activated makeup formula, just saying. It’s worth the money if you want multiple shades and the palettes are set-friendly.
- European Body Art EncoreBROW Pans – These are smaller than the Hair and Beard pans because they are specifically for brow color and compactness… I guess. I first bought them and kinda freaked out that they were about 1/3 of the size of the Hair & Beard pans, but they are a little cheaper and are a good option to try different shades out before you settle on the ones you really like.
Pro Tip #2 – Don’t spatter your product TOO CLOSE to your face. You will want to keep 6-8 inches of distance between your toothbrush and your face. If you are too close, you will run the risk of splattering the product in one, condensed direction. It becomes quite tricky when you try to correct that mistake… so instead – give the brush a bit of distance, so the droplets of the product appear to be more natural.

When it comes to putting the product on your face – you don’t want to focus it on a few, tiny areas. Natural freckles do group up on the high points of the face, such as cheekbones, bridge of the nose, and forehead – but don’t be afraid to branch out from there. I recommend going online and taking a look at folks with natural freckles for reference.
Pro Tip #3 – Apply a light wash of bronzer to your main freckle areas (cheekbones, forehead perimeter, and bridge of nose) before applying your freckles, especially if you are going for more of a sunkissed, summertime freckle look.
Applying a bronzer or a warmer tone, LIGHTLY, underneath your freckles will help fool the eye into thinking there are more freckles there than there actually are. Plus, freckles tend to stand out in the summertime – specifically the more time you spend in the sun… so bronzing goes along with it.
For my technique, you’ll need three items, with an optional extra: 99% isopropyl alcohol, a toothbrush, and an alcohol activated makeup pan (or palette) in the color or colors of your choosing. If you would like to define specific freckles, also grab a small art detailing brush. That’s it.
Pro Tip #4 – If you accidentally make too dark of a freckle, you can always dab on top of it to dissipate it a little bit. If you aren’t sure what I mean, I demonstrate it in the video.
If you have any other questions as far as freckling techniques or want me to demo how to use another medium, let me know in the comments below.
