May. My favorite month to celebrate being a spoonie…
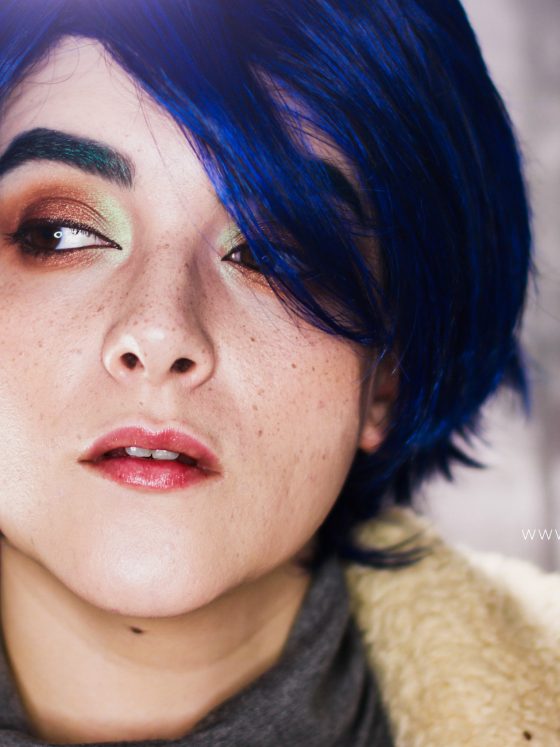
If you are new to my little corner of the Interwebs, every year since about 2014-2015-ish, during the month of May I wear A LOT of purple. Purple hair (a la wigs), purple clothes, purple makeup… lots of purples.
… but why?
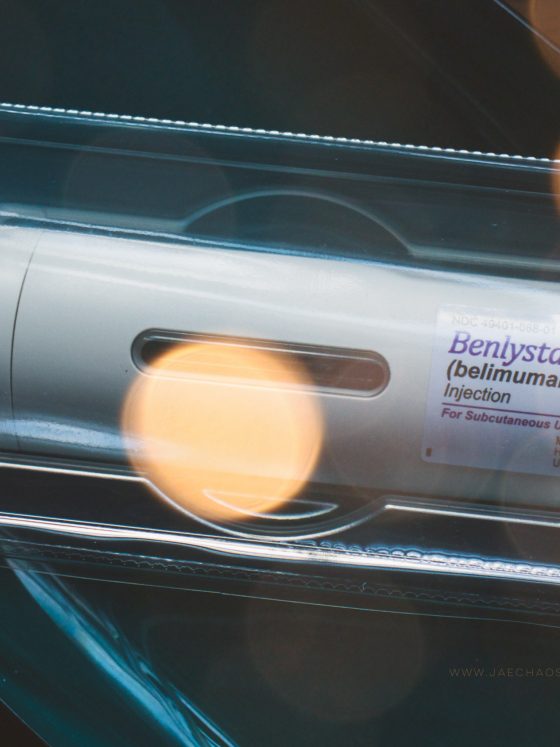
May is Lupus Awareness Month AND Fibromyalgia Awareness month and I am one of those lucky (*/sarcasm) few that has both chronic illnesses … along with a few others but they have their own months. I was first diagnosed with Lupus, SLE specifically, in Spring 2014 after getting really sick the year before – see this post where I talk all about my spoonie journey. Fast forward to 2017 and my doctors came to the conclusion that I also have Fibromyalgia. Lucky me.

Anyways, I have chosen to use my powers for good… or at least as much good as I can muster during the month of May to raise as much awareness to both of these conditions as possible. If you would like to learn more about Lupus or Fibromyalgia click the hyperlinks. I will also be sharing more of my spoonie life throughout the month as well, and to all of my fellow Lupus and Fibro warriors out there – I encourage you to do the same, spoons willing.
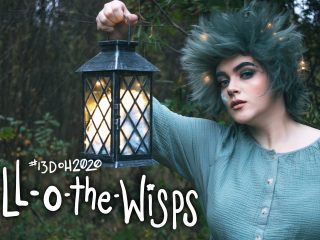
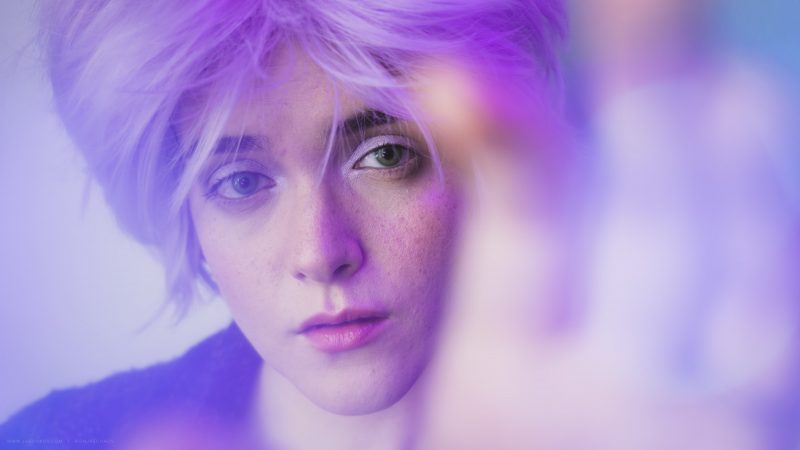
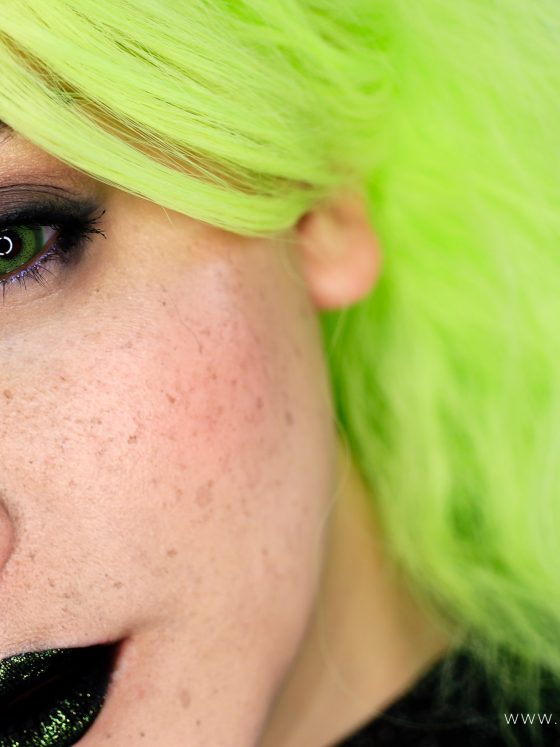
Now, on to this #MOTD and all it’s fluffy, lilac dandelion vibes.
To kick off May and my quest to purple all the things this month in support of SLE & Fibro life, I wanted to create something that was quick and easy – look wise. This tends to be a similar look to my everyday go-to face, just switching up some lid colors and I figured it would be a good jumping off point. One other reason why I wanted to create something simple is that I was running on two and a half hours of sleep… yay insomnia.

This wig is one that I’ve had for MANY years and it reminds me of dandelion fluff, hence part of the title of this post. I purchased this wig from Epic Cosplay Wigs back in the day when this was one of their “prototype” styles. They have since added it to their Apollo collection – which is one if not my favorite style that ECW has to offer. It’s so fluffy!
PS: I reeeeaaaaallllllllllllyyyyy want to get my shit together and film a little video showing ALL of my purple wigs. I’m sure you will see most of them this month, but still… I have a lot because purple one of my favorite colors and it is the color for both Lupus and Fibro… and it was one of my wedding colors. Tee hee. If you’d like to see that, let me know in the comments.

Makeup Used:
– Tatcha Silk Canvas *
– MAC Hyper Real Foundation in FX Gold + Becca First Light Primer
– NARS Sheer Glow Foundation in Light 2, Mont Blanc
– Bite Beauty Multistick in Blondie (contour) and Creme Caramel (Blush)
– Make Up For Ever Artist Color Pencil in Endless Cacao (contour)
– European Body Art Alcohol Activated Makeup in Aged Tattoo and Tendon (Brows)
– Mehron Makeup Paradise AQ Makeup in (Storm Cloud, Teal, White, Blue, Deep Green, and Black)
– Becca Undereye Setting Powder
– Anastasia Beverly Hills Subculture Palette (Dawn, Mercury and Untamed)
– Lime Crime Prelude Palette ( Saturn and Sea Foam )
– Smashbox Cosmetics Always On Liquid Eye Liner
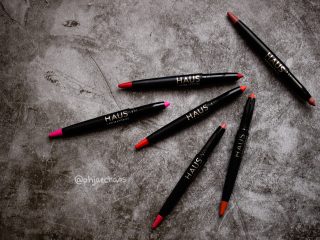
– Haus Laboratories Eye-Dentify Eye Pencil in Punk (Black) *
– Urban Decay GoT Collab 24/7 Pencil in Winterfell Snow
– i-Envy Extension Curl Lashes in KLEC08 (L curl)
– Milk Makeup Waterproof KUSH Mascara *
– Milk Makeup Flex Highlighter in Lit *
– Urban Decay All Nighter Setting Spray
ACCESSORIES:
– Wig: Epic Cosplay Wigs in Apollo (Sage Green) Styled by me
– Dress: Ava+Viv Dress from Target, dyed with RIT
– Contacts: Pinky Paradise Eurasia Contacts in Aqua Blue
– Ears: Ardani Faux Elf Ears via Amazon: https://amzn.to/31Ca35a
Note: I am allergic to latex so I always coat my ears in several layers of prosaide anywhere they would come in contact with my skin to provide some protection and not make me break out so fast, because that’s not cute.
(*denotes items received in PR)
(*)denotes anything received in PR.
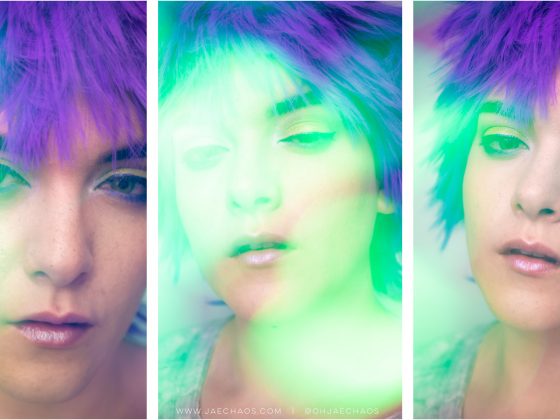
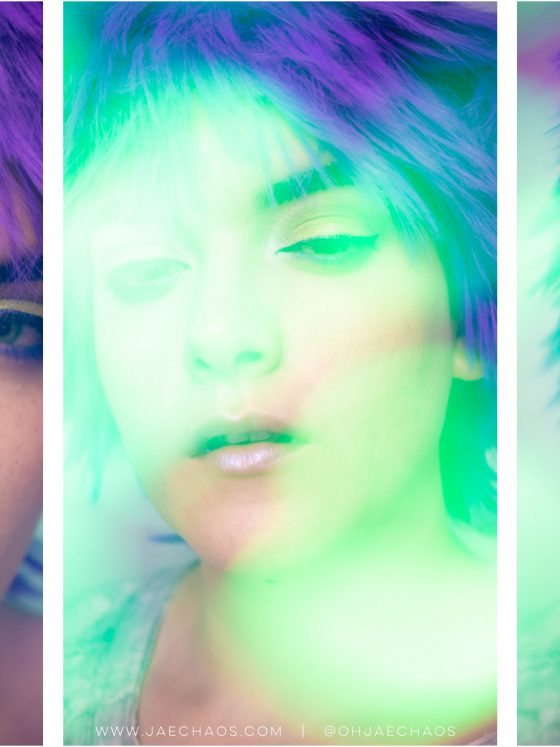
I love how this look came out, from the look in my head to my face and then with the lighting and camera trickery. I didn’t photoshop the finished images. I shoot all of my portraits in RAW format and then bring them into Lightroom before exporting them to the specific dimensions for social media and my blog. The ONLY “photoshop-ish” thing I did to some of the images was to heal a stubborn, dry blemish on my brow.
I did film a CCGRWM for this look but, honestly, I was not feeling great and it showed during the filming. If you absolutely want to see how I created this look, then tell me in the comments and I’ll film it again, but for now here are the pretty pictures.

Bonus Round: Lighting Setup

All of those dreamy, bokeh-rich shots weren’t photoshopped, believe it or not. They were shot using a little creative lighting, some iridescent cellophane, a rubber band, and my camera.
- To achieve this type of effect, cut a rectangular piece of cellophane, large enough to fit securely around the diameter of your camera lens and then crinkle it into a ball to give the cellophane some texture.
- After that, flatten it back out slightly, fold it in half width-wise and secure it to your camera lens with a rubber band.
- For this next part, BE VERY CAREFUL AS TO NOT SCRATCH YOUR CAMERA LENSE! You’ll need to cut a small hole in both layers of your cellophane, right in the center of your lens. I suggest cutting one hole, tearing it and then cutting the other in a slightly different location that way you have TWO layers of cellophane for the light to play tricks with.
- Turn on your lights, and start taking pictures. Don’t be afraid to adjust the cellophane or make the hole bigger while you are shooting. If you are shooting by your self, make sure you check where your focus is by looking at a monitor or your camera’s built-in screen. I shoot with a T6i and it has a rotating view screen, which makes taking pictures a heck of a lot easier (even though, truth-be-told, I am much more comfortable behind a camera instead of in front of one).

Pictured above: The top image is what the camera sees. The bottom left image is what I see and the bottom right image is where I was standing for the image. Gear used: 47″ Octagon Reflector Umbrella w/ 4 bulb splitter (using Philips Hue color bulbs), a clamp light with another Philips Hue bulb for background color, my Canon DSLR T6i camera with my Canon 35mm STM Macro Lens, some iridescent wrapping cellophane, a rubber band, and a blank wall. All of the hyperlinks in this paragraph go to Amazon, via Amazon Affiliates, and I do make a TINY commission off of any of the items purchased – if you want to help support me by getting a little something for yourself. 🙂
Let me know if you want me to talk about more camera and lighting tricks. Photography is something I’m very passionate about and have been a professional photographer for over a decade… which is scary and now I feel old. Anyways, I’m happy to help with all your ‘tog questions.
Oh, and before someone comes for me for not giving credit to a few popular makeup artists who have recently (as of the last year) used this technique… this technique has been around for LITERAL DECADES. The art of putting filters, objects, prisms, mirrors, colored gels, vaseline, etc. between your lens and subject is vast. Back when I was doing lifestyle and portrait photography full time, I used this technique for my more artsy sessions. Photographers have been experimenting with lighting and different ways to bend and play with light since photography first began.


